I haven’t been blogging because I’ve been in my class the
last couple of weeks. It’s been fun
actually setting things up and making all the fun things I have pinned from
Pinterest. So here is another crate
project I did.
I’m sure you have all seen the cute little crate seats on
Pinterest. This is my tutorial of how I
made them – full of pictures of course.

First, I found the perfect little dog fabric. It happened to be blue so I went back to
Wal-Mart and picked up some more crates.
I then went to Lowes and had them cut some plywood for
me. I brought a crate up there because
another blogger said it was a good idea.
She was right – a couple of pieces didn’t quite fit with the first
cut. It was funny because as I was
checking out at Lowes a worker came up to me and said, “You must be making
those crate seats. All these teachers
keep coming in here to make those things!”
Once my boards were cut I covered the top with foam – the
roll out kind that I got at the sewing section of Wal-Mart. One roll covered all 6 crate chairs I
made. The last one had to be pieced
together, but you can’t tell once it’s all done.


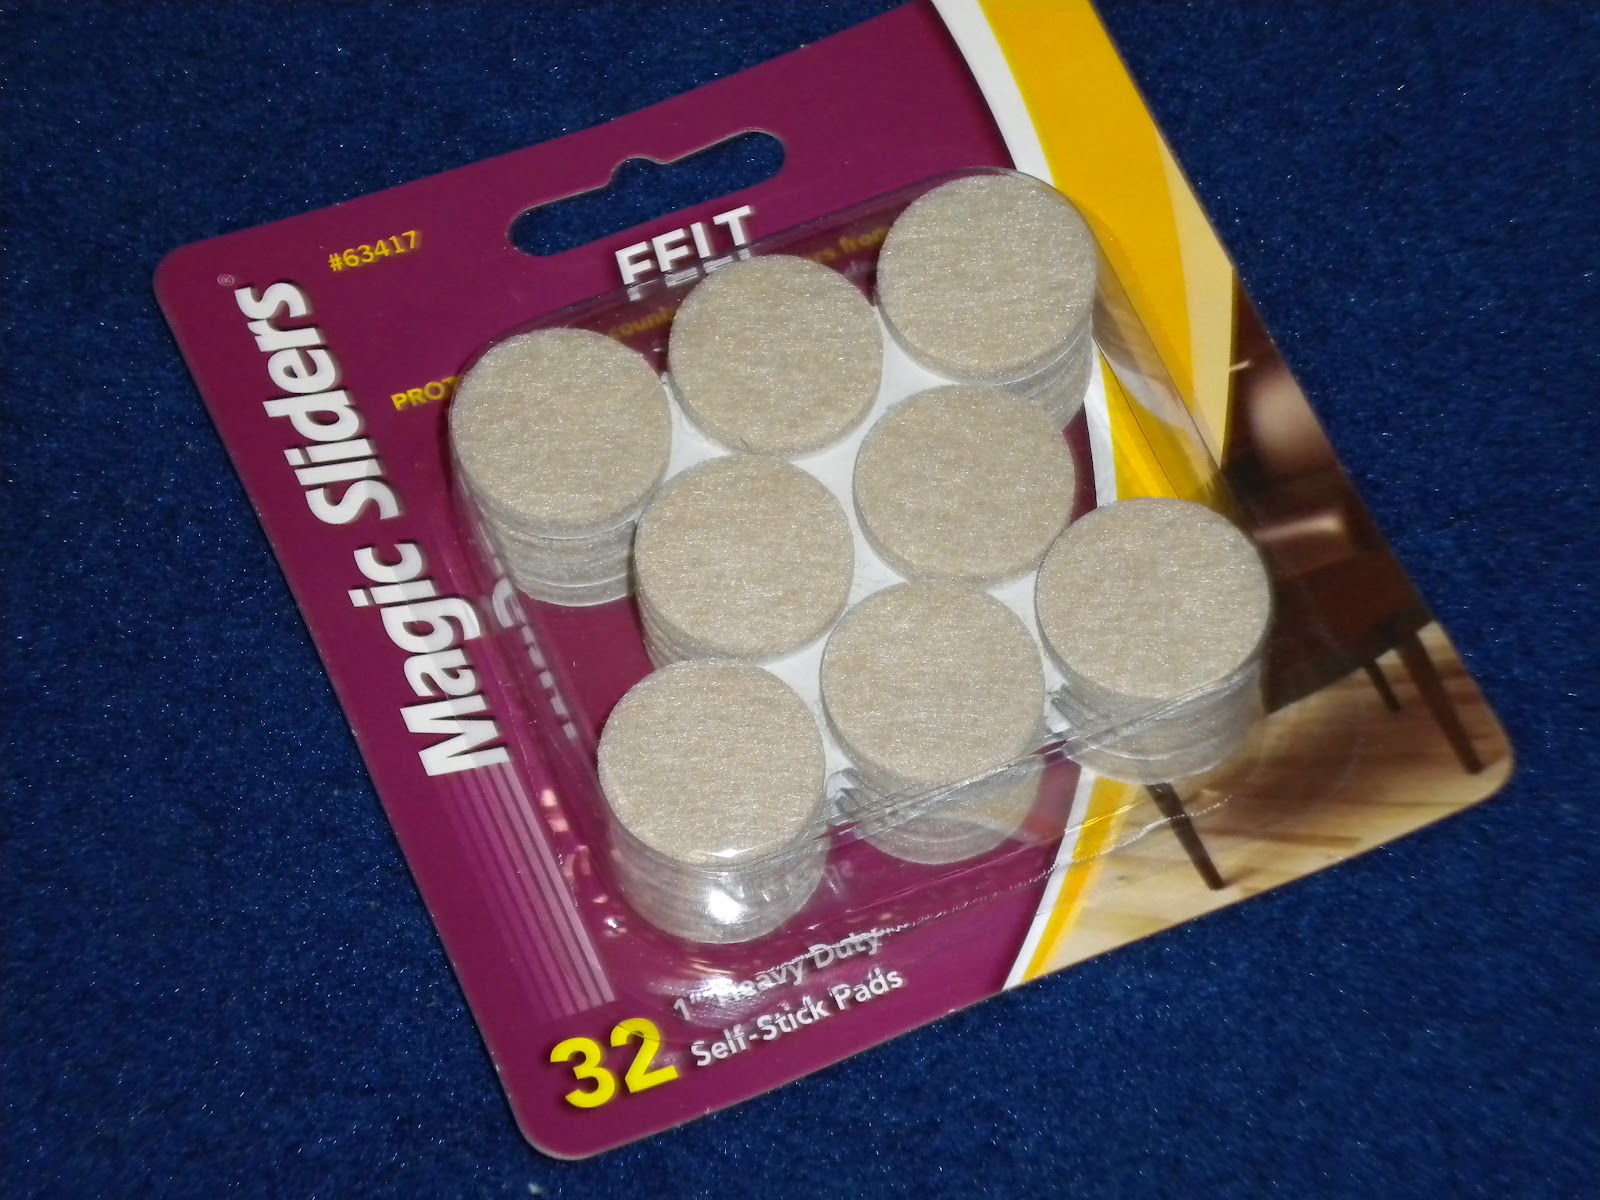
Then I cut the fabric to size and used my super heavy duty
staple gun to secure it all down.


I really like the way these seats turned out. They also help make the room feel larger
because I don’t have chair legs sticking out from the two tables I used them
at. I think it’s more of a visual thing
than actually having more space, but whatever.
It’s a fun project that adds a little personality to the room.
And they come in handy for storing all those supplies I get at the beginning of the year that we consume: spirals, tissue boxes, pocket folders, manilla paper. We have so much of it early on that I can't always find the room to store it at the beginning of the year...problem solved this year!